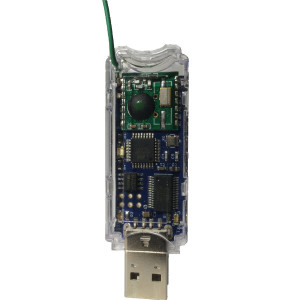
JeeLink Classic is an Arduino compatible programmable radio transceiver made by JeeLabs/Digital Smarties. With firmware from OpenNetHome, it can be used as a generic 433 Mhz OOK transmitter used to control switches and actuators. To use it with OpenNetHome, you must first download the firmware to the JeeLink. Make sure it is a JeeLink Classic 433MHz and not any of the other variations. Note that JeeLink only acts as a transmitter in this application, it cannot be used as a receiver.
Installing firmware on JeeLink
The firmware is installed via a windows computer.
- Download and unzip the latest nightly build of OpenNetHome
- Go to the directory \drivers\windows\JeeLink\drivers in the unzipped folder
- Install the Windows drivers for Arduino by running dpinst-amd64.exe (If you already have installed Arduino development environment before, you don’t have to do this)
- Plug in the JeeLink to an USB port
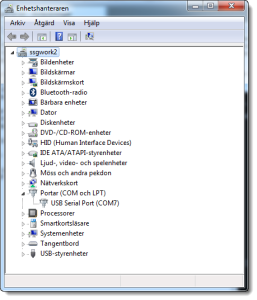
- Open the device manager window. This can be done for example by typing “mmc devmgmt.msc” in the search field in the start menu (or after pressing Windows-button in Windows 8)
- Open the Ports-section in the device manager window and check what serial port number your JeeLink got, it could be for example COM7

- Open a command prompt and go to the directory \drivers\windows\JeeLink in the unzipped forlder
- Type the command: “InstallFirmware.bat com7″ where you should replace COM7 with the name of the COM port you saw in the previous step. This will upload the OpenNetHome firmware to the JeeLink.
- Done!
Configuring JeeLink in OpenNetHome
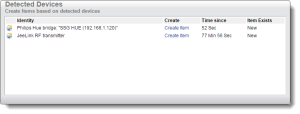
JeeLink is supported by the auto detect feature, so you just have to go to the Create/Edit page and the insert the JeeLink. It will show up in the Detected Devices screen so you can select to create a Home Item for it:

Create an Item for it, give it a name and select serial port, save and the configuration is done! Now you can control switches and actuators on the 433MHz band via the JeeLink transmitter.


